Wonderful, funny directions
I’ve been putting together electronics kits a long time - since I built my dad a Heathkit vacuum tube voltmeter in the late sixties. Good instructions go a long way towards making the build an easy, trouble-free experience. The ArduiNIX instructions are clear, well-illustrated, and quite useful for the beginner. But they go beyond that. As an experienced constructionist, the instructions in this kit are the first that I would actually call fun to the point of whimsy. I mean, look at this picture: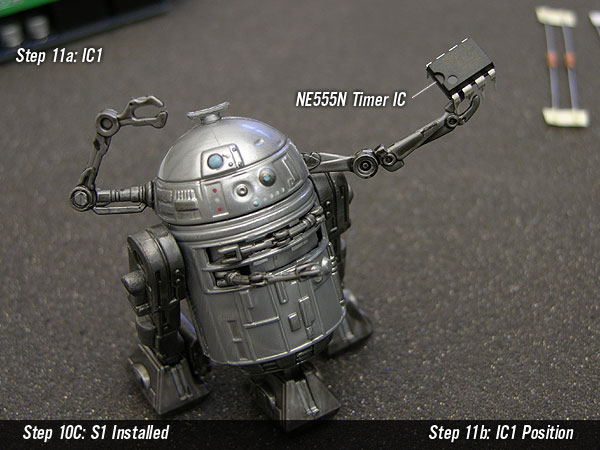
(http://www.arduinix.com/Main/AssemblyHTML/11a.html - Used by permission.)
That droid is heroic! I laughed more during this build than any other I have ever done. Take your time and have some fun.
It is a good idea to read through the entire set of instructions while you are waiting for your kit to be delivered. Not only is it a fun read, but there are a few choices you can make along the way to customize the kit and you might want to collect some alternate components.
Some confusion on C3
I was a little confused about the C3 capacitor. This cap helps determine the maximum high voltage output, so you can modify it to adapt the high voltage power to your particular type of nixie tube or vacuum florescent tube. The online instructions available when I built my kit did not quite match the component included with the kit. But, if you pay attention, you won’t have any problems.
Excellent customer support
The design team has been tweaking the C3 cap to improve the performance of the high voltage power supply. This was why the C3 that came with the kit was a better one that their instructions showed. It worked fine for my application, but I got a pleasant surprise a month or two after I bought the kit. The design team came up with an even better choice of cap and sent it out to anybody who asked, free of charge.

While it’s typical to get software upgrades from companies, this was the first time I’ve ever gotten a component upgrade. It’s a small thing but, like the whimsical instructions, it is one of the things that made this kit a delight to own.
Optional choice of header
Their instructions discuss some possible variations of header choice for the cathode connections. The vertical one supplied with the kit worked for me because I was planning on recycling some old disk ribbon cables. (More about this later.) But you might want to substitute an angle connector to keep the profile lower.High voltage header
Be careful with your choice of high voltage header for the four anode connections. (You don’t need to worry about the cathode connections because they stay at or near ground potential.) This area of the board supplies voltages up to 250v DC and, even though the currents are low, it would still be very nasty for you to touch or to have one of your prototyping jumpers touch the wrong pin. I used the supplied header and a relatively open (but insulated) cabling scheme for my prototyping but I intend to replace this with an interlocking connector designed for high voltage safety when the design stabilizes.

Custom headers
Finally, I used a set of stacking headers for the pins connecting to the underlying Arduino board. Due to the component height on the ArduiNIX, it has to be on the top of the stack, but this scheme allows me to use jumper cables for prototyping. You can get these at Sparkfun (http://www.sparkfun.com/commerce/product_info.php?products_id=9279) or other component supplier. I had some long ones in my parts drawer that I hacked to size.

Summary
In summary, this is an easy kit to build and the instructions make the process a wonderfully fun experience. The company is a delight to work with. Spend some time thinking about how you want to use the board before you install your headers, and pay careful attention to C3.
Next:
Next, we’ll take a look at the electrical design: perusing the circuit schematic, understanding how the hardware design influences your software options, and checking on the performance of the high voltage power supply.

